简介
简单介绍libbpf如何交叉编译,以及利用libbpf开发一个demo程序跑在arm64平台上,内核版本为6.6.42
环境依赖
克隆代码
git clone git@github.com:libbpf/libbpf-bootstrap.git
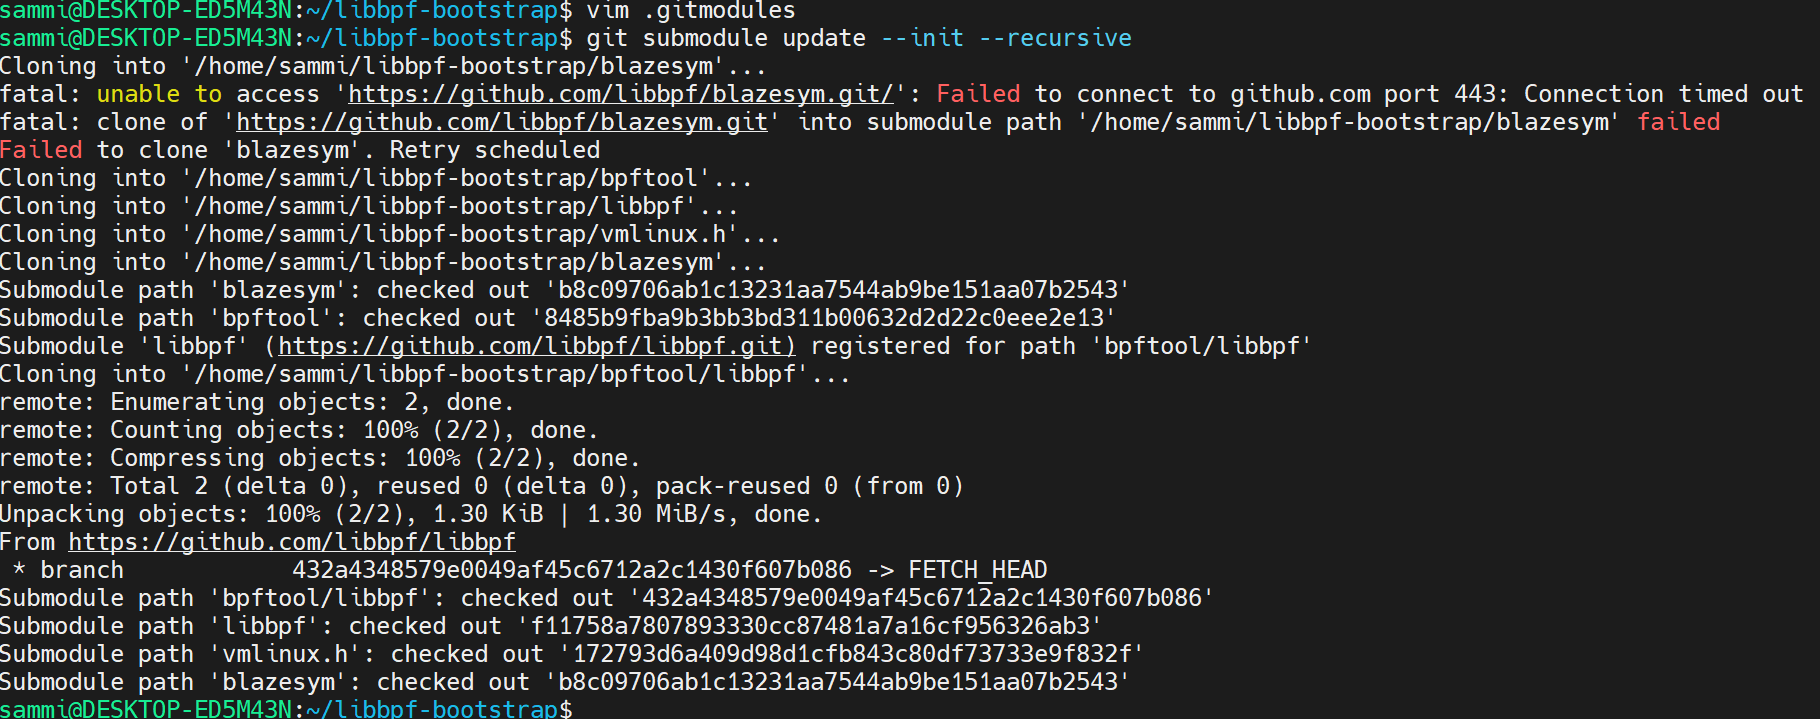
git submodule update --init --recursive

升级llvm
在wsl上原本自己clang跟llvm的版本是10.0.0的
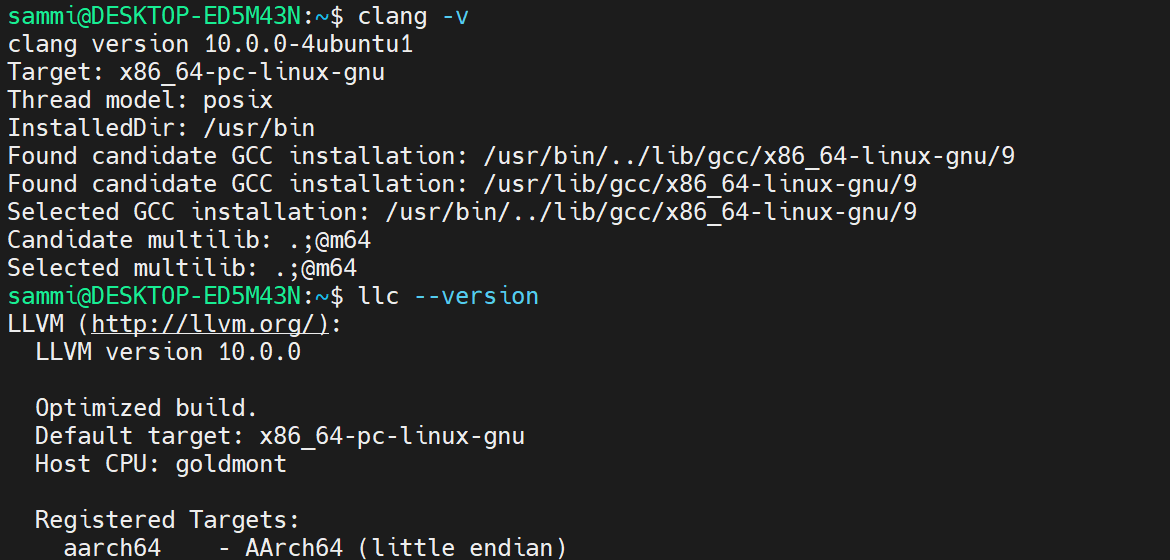
但是如果用这个版本去编libbpf则会报错,所以需要升级llvm
note: expanded from macro 'bpf_core_enum_value_exists'

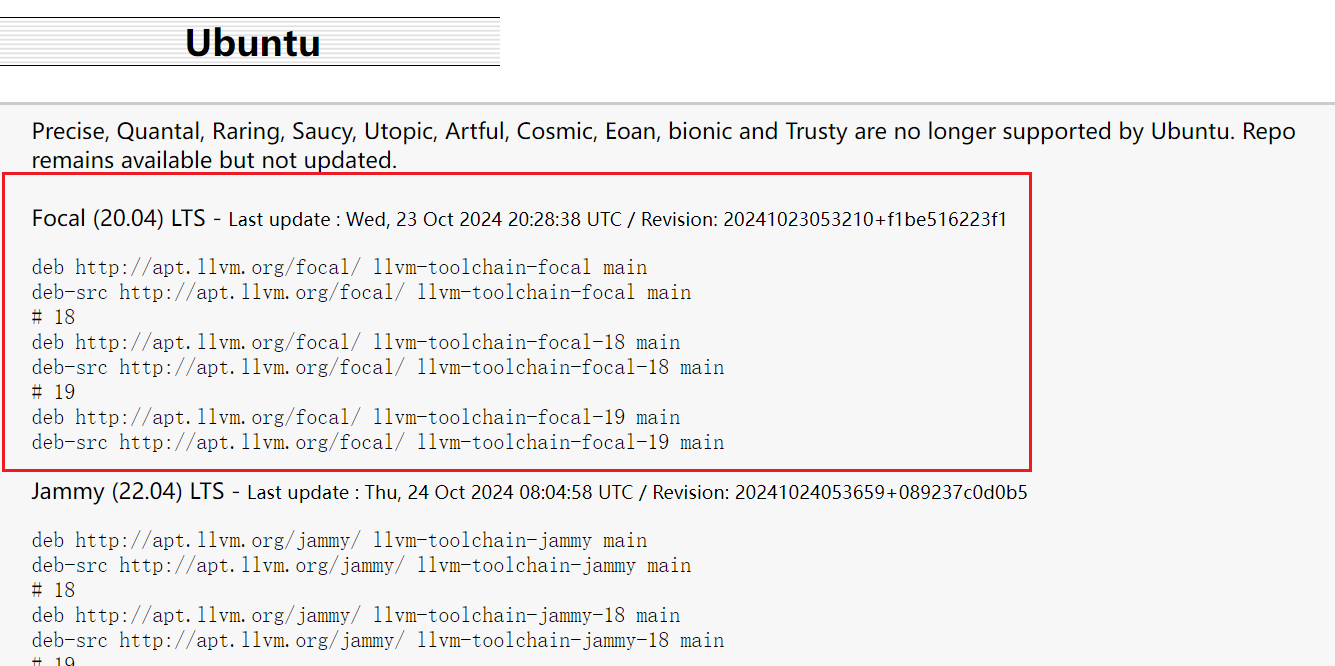
我们wsl的版本是Ubuntu 20.04的

去llvm的官网,有提示怎么修改我们的软件源去获取最新版本的llvm,这样就不用自己手动去编译了
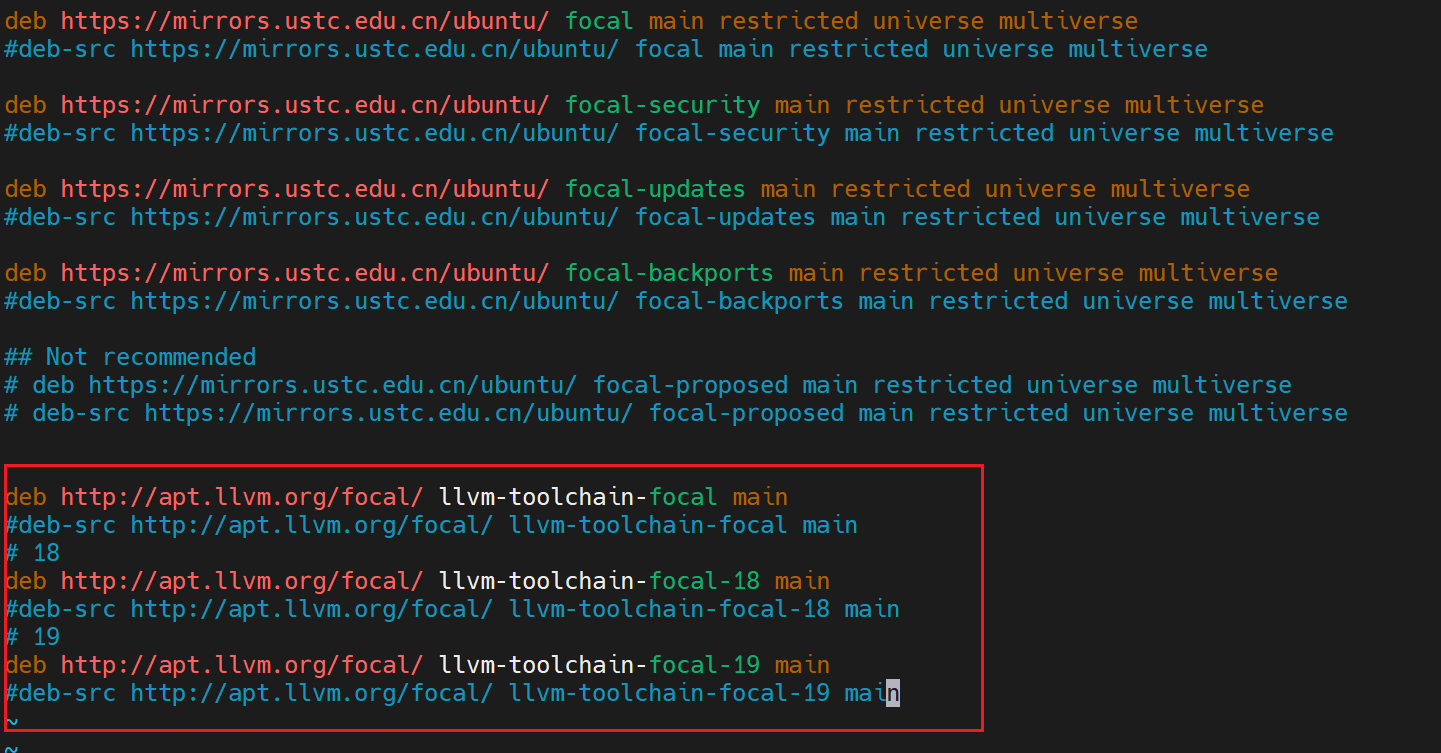
修改文件/etc/apt/sources.list

加上如下内容
deb http://apt.llvm.org/focal/ llvm-toolchain-focal main
#deb-src http://apt.llvm.org/focal/ llvm-toolchain-focal main
# 18
deb http://apt.llvm.org/focal/ llvm-toolchain-focal-18 main
#deb-src http://apt.llvm.org/focal/ llvm-toolchain-focal-18 main
# 19
deb http://apt.llvm.org/focal/ llvm-toolchain-focal-19 main
#deb-src http://apt.llvm.org/focal/ llvm-toolchain-focal-19 main
然后再加个apt-key
wget -O - https://apt.llvm.org/llvm-snapshot.gpg.key | sudo apt-key add -

增加好后update一下
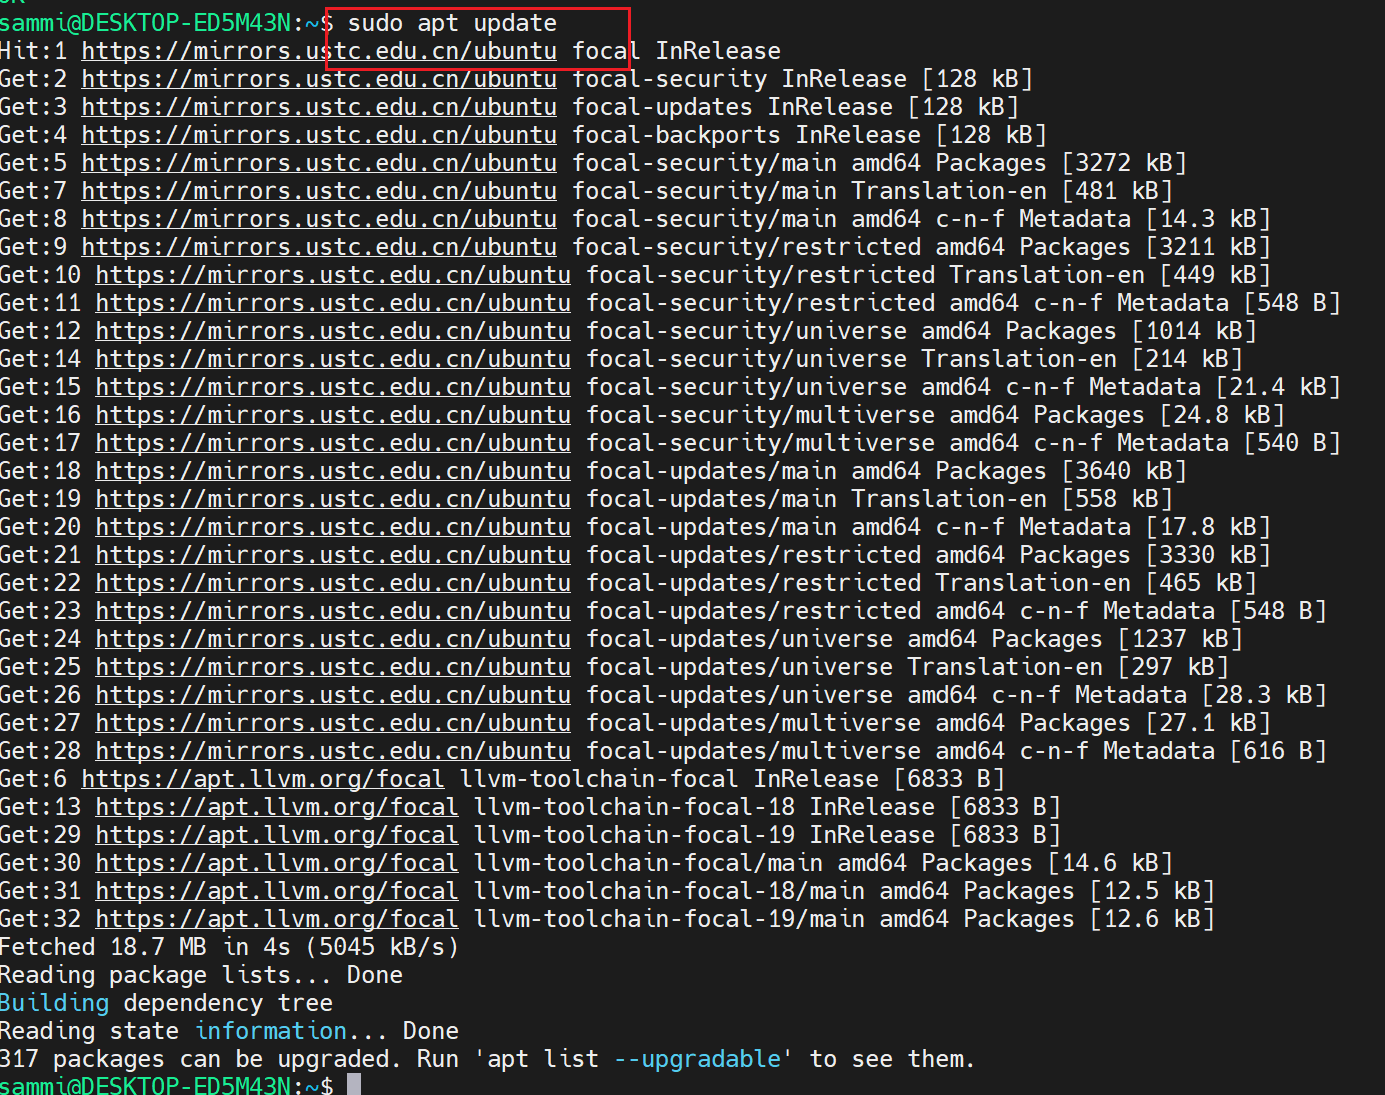
然后下载
sudo apt-get install clang-18
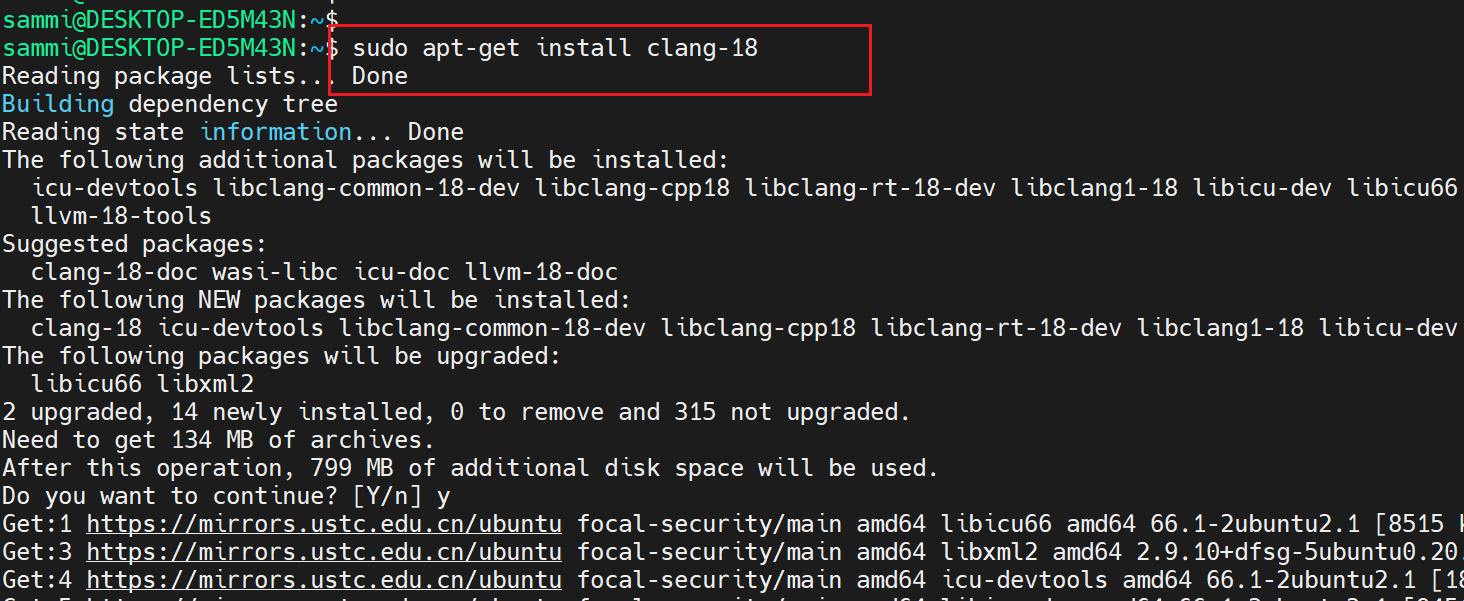
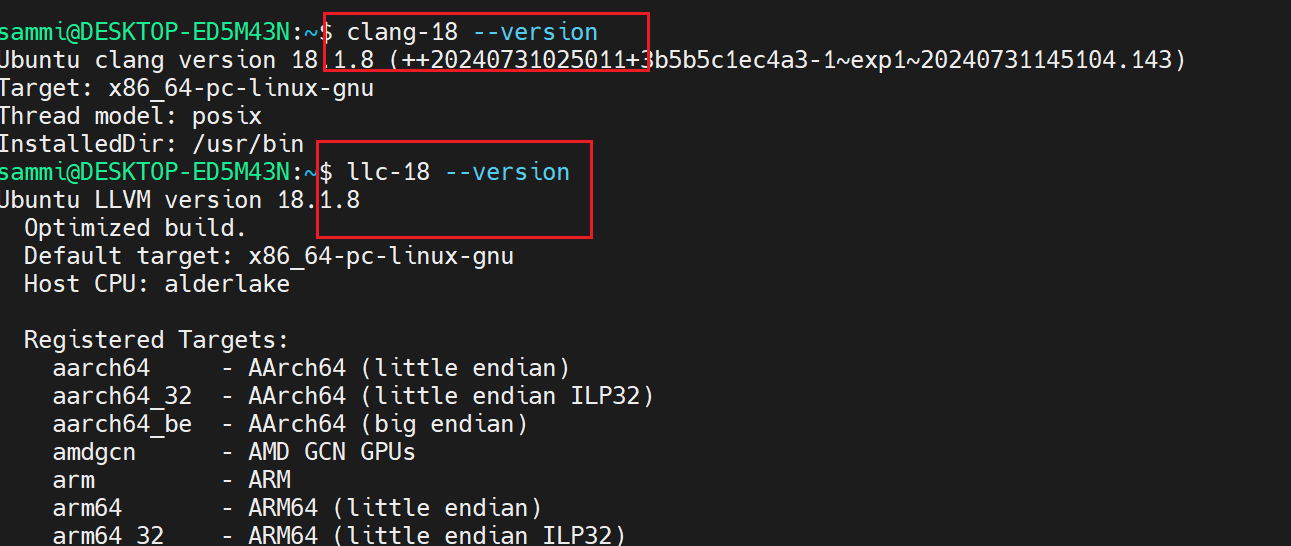
输入命令查看,即可知道是否安装成功
clang-18 --version
llc-18 --version
修改Makefile
有两处Makefile需要修改,第一处是example/c/的Makefile文件

把CLANG ?= clang修改为CLANG ?= clang-18
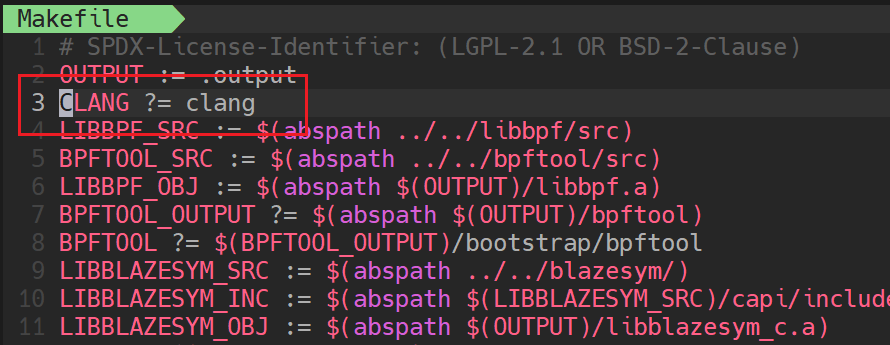
修改后的效果如下
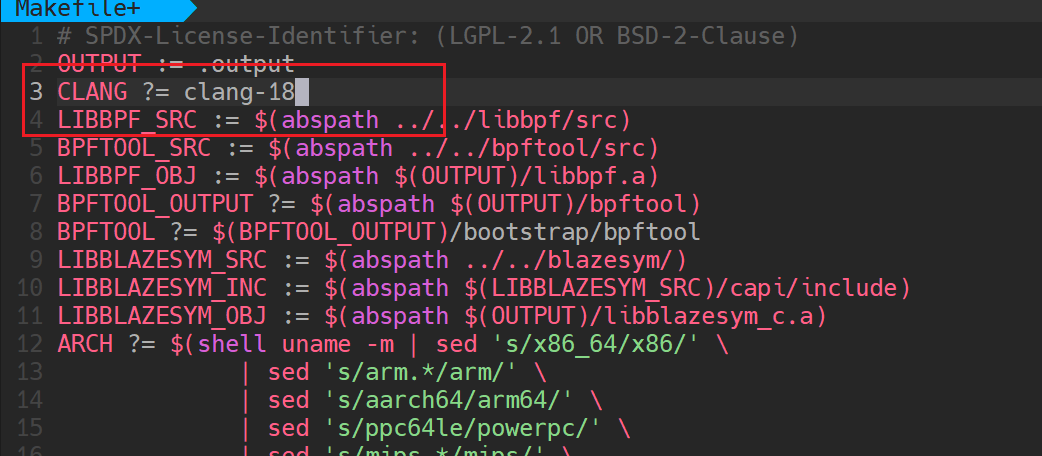
第二处是bpftool/src/的Makefile.include文件

把LLVM_VERSION ?= 修改为 LLVM_VERSION ?= 18

修改后的结果如下
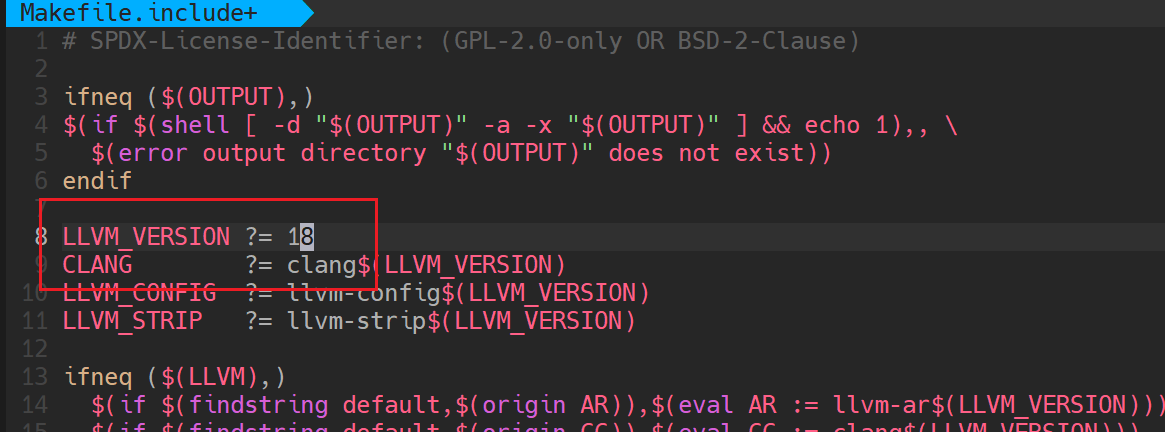
交叉编译
依赖
因为编译libbpf需要依赖zlib跟libelf,可以看看我们的交叉编译工具链是否支持
which aarch64-none-linux-gnu-gcc
cd /opt/gcc-arm-10.3-2021.07-x86_64-aarch64-none-linux-gnu/
find . -name libelf*
find . -name libz*
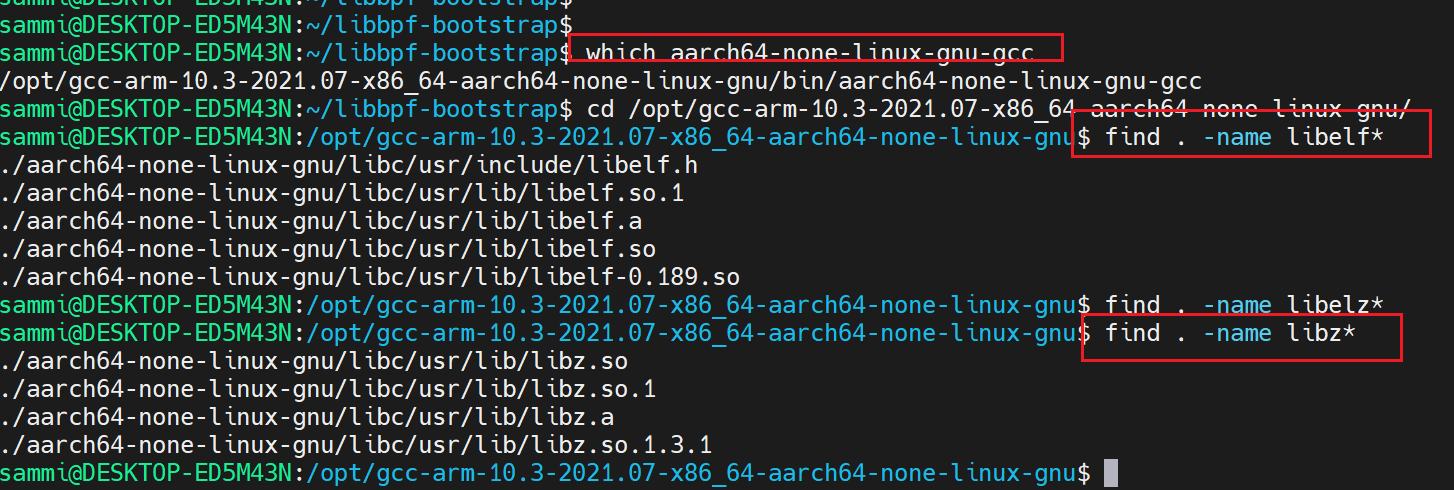
可以看到我们的工具链是支持的,如果说交叉编译工具链不支持,就得自己交叉编译一下,在我之前的文章有提到交叉编译zlib跟libelf的方法(其实比较鸡贼,直接从buildroot去拿的)
编译
先编译bpftool
cd bpftool/src/
make ARCH=arm64 CROSS_COMPILE=aarch64-none-linux-gnu- -j16
报错提示aarch-none-linux-gnu-cc找不到
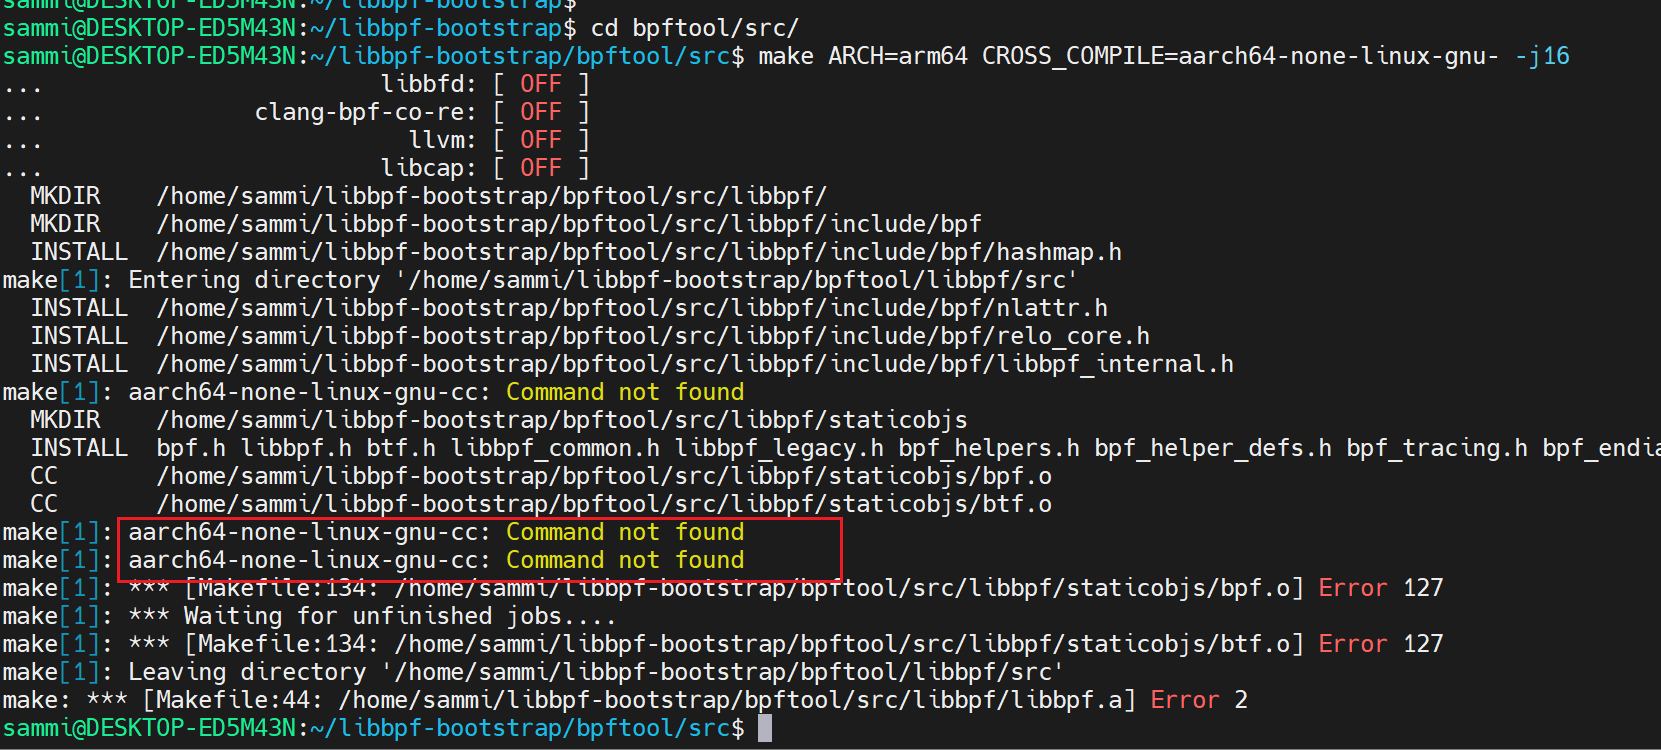
查看examples/c/Makefile文件得知,是CC变量在CROSS_COMPILE定义的时候会覆盖为aarch-none-linux-gnu-cc,那最简单的方法就是我们设置一个aarch-none-linux-gnu-cc软连接到aarch-none-linux-gnu-gcc就可以了

接着来设置软连接
sudo ln -s aarch64-none-linux-gnu-gcc aarch64-none-linux-gnu-cc
ls -l aarch64-none-linux-gnu-cc

然后先编译bpftool
cd bpftool/src
make ARCH=arm64 CROSS_COMPILE=aarch64-none-linux-gnu- -j16

编译成功

接着编译example
cd examples/c/
make ARCH=arm64 CROSS_COMPILE=aarch64-none-linux-gnu- -j16

可以看到编译成功

把bootstrap放到我们的树莓派上,执行成功

增加自己的demo
在examples/c目录下,增加hello.c跟hello.bpf.c文件
hello.bpf.c
#include "vmlinux.h"
#include <bpf/bpf_helpers.h>
#include <bpf/bpf_tracing.h>
#include <bpf/bpf_core_read.h>

char LICENSE[] SEC("license") = "Dual BSD/GPL";

// 使用SEC宏把下方函数插入到openant系统调用入口执行

SEC("kprobe/do_sys_openat2")
int BPF_KPROBE(do_sys_openat2, int dfd, struct filename *name)
{
    pid_t pid;
    pid = bpf_get_current_pid_tgid() >> 32;
    // 将信息输出到trace_pipe(/sys/kernel/debug/tracing/trace_pipe)
    bpf_printk("Hello eBPF! kprobe entry pid = %d\n", pid);
    return 0;
}
hello.c
#include <unistd.h>
#include <signal.h>
#include <string.h>
#include <errno.h>
#include <sys/resource.h>
#include <bpf/libbpf.h>
#include "hello.skel.h"

static int libbpf_print_fn(enum libbpf_print_level level, const char *format, va_list args)
{
    return vfprintf(stderr, format, args);
}

static volatile sig_atomic_t stop;

void sig_int(int signo)
{
    stop = 1;
}

int main(int argc, char **argv)
{
    struct hello_bpf *skel;
    int err;

    /* 设置 libbpf 错误和调试信息回调 */
    libbpf_set_print(libbpf_print_fn);

    /* 加载并验证 hello.bpf.c 应用程序 */
    skel = hello_bpf__open_and_load();
    if (!skel) {
        fprintf(stderr, "Failed to open BPF skeleton\n");
        return 1;
    }

    /* 附加 hello.bpf.c 程序到跟踪点 */
    err = hello_bpf__attach(skel);
    if (err) {
        fprintf(stderr, "Failed to attach BPF skeleton\n");
        goto cleanup;
    }
    if (signal(SIGINT, sig_int) == SIG_ERR) {
        fprintf(stderr, "can't set signal handler: %s\n", strerror(errno));
        goto cleanup;
    }
    printf("Successfully started! Please run `sudo cat /sys/kernel/debug/tracing/trace_pipe` "
           "to see output of the BPF programs.\n");
    while (!stop) {
        fprintf(stderr, ".");
        sleep(1);
    }

cleanup:
    hello_bpf__destroy(skel);
    return -err;
}
Makefile在APPS增加hello

进入examples/c后执行make ARCH=arm64 CROSS_COMPILE=aarch64-none-linux-gnu- -j16得到hello可执行程序

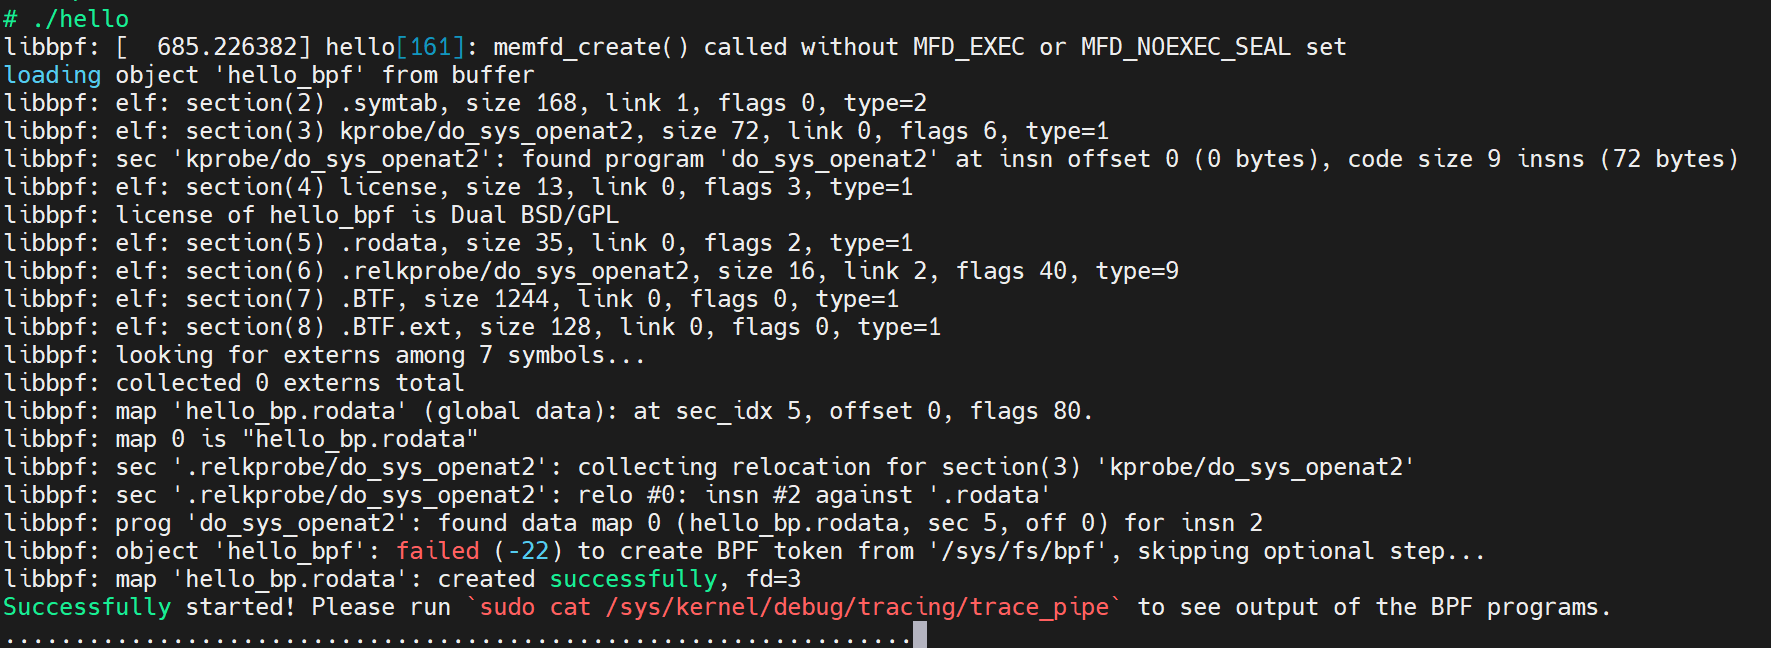
树莓派上执行hello程序
查看接口
sudo cat /sys/kernel/debug/tracing/trace_pipe
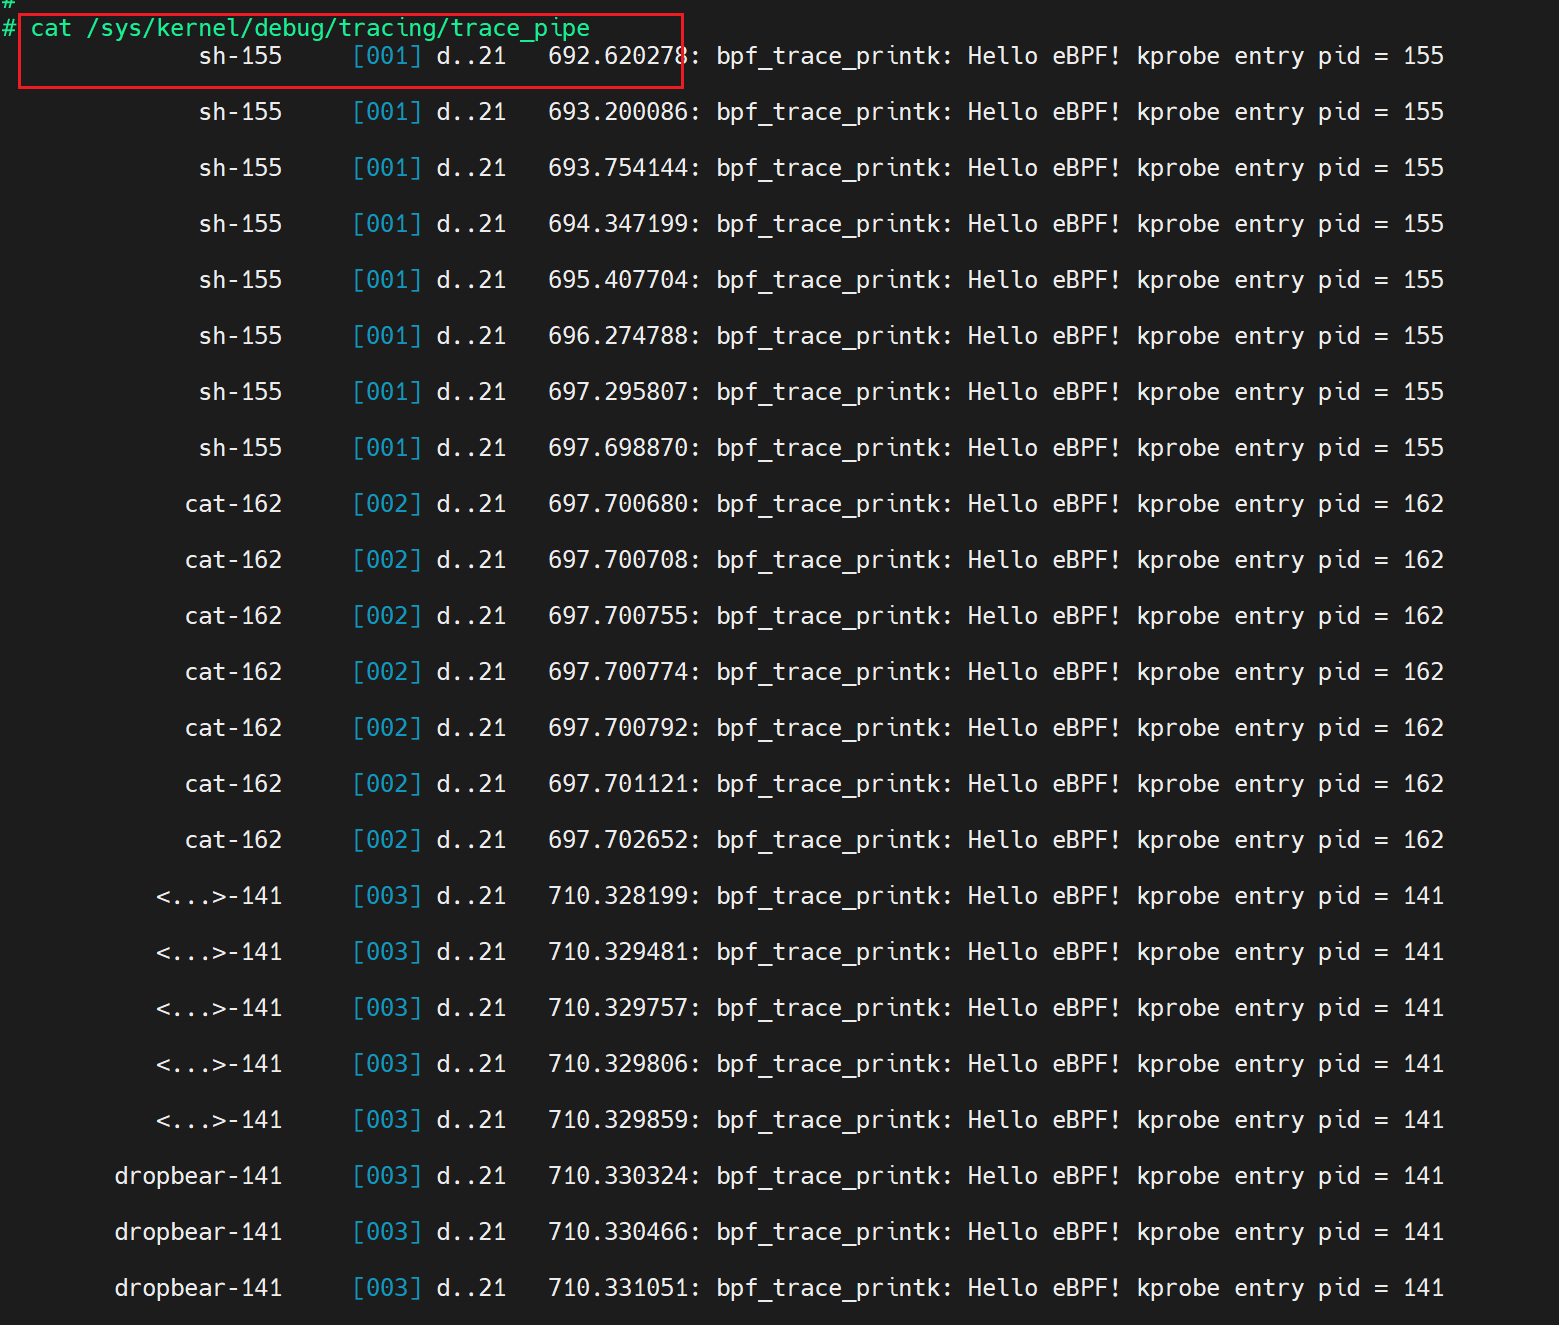
执行成功