过程
首先在powershell以管理员身份运行下面两条命令
dism.exe /online /enable-feature /featurename:Microsoft-Windows-Subsystem-Linux /all /norestart
dism.exe /online /enable-feature /featurename:VirtualMachinePlatform /all /norestart
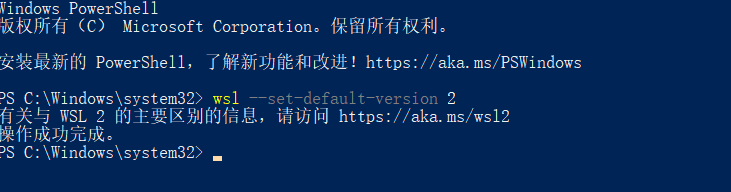
然后重启电脑,重启后在powershell以管理员身份运行下面命令
wsl --set-default-version 2
接着下载安装包
https://wslstorestorage.blob.core.windows.net/wslblob/wsl_update_x64.msi
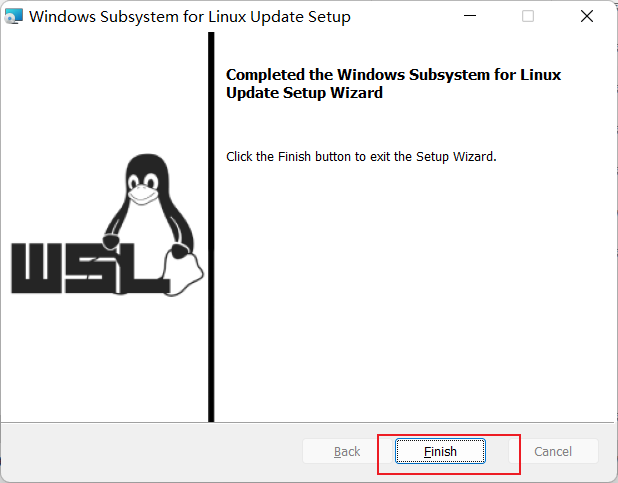
下载后点击wsl_update_x64.msi

一路点击确定就完事
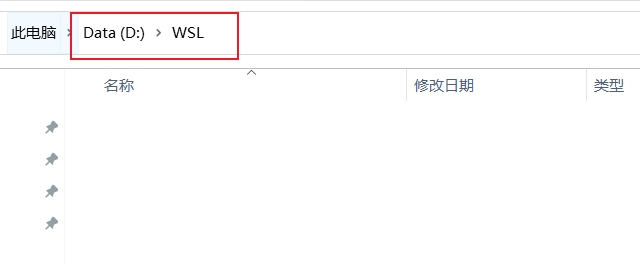
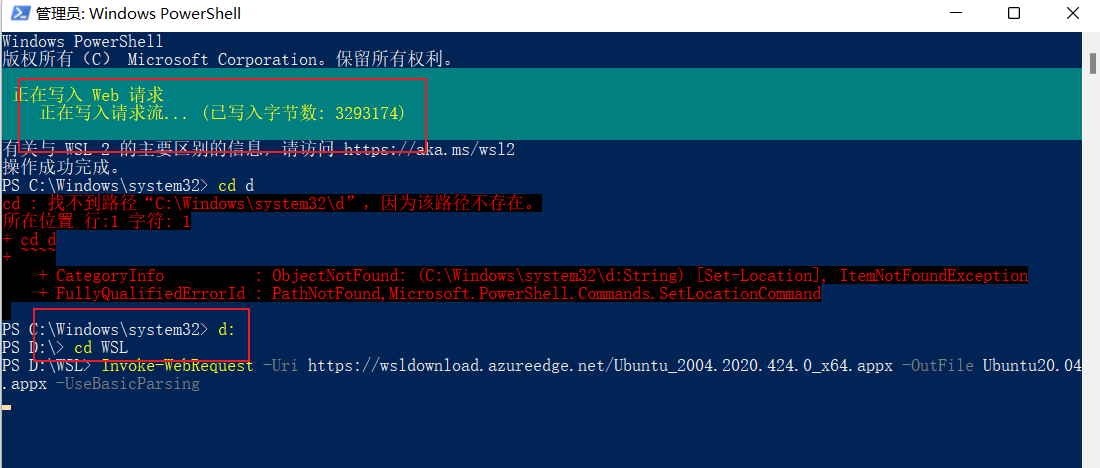
然后以管理员身份用powershell进入你要安装的wsl目录,比如我的是D:\WSL\
输入下载Ubuntu20.04的命令
Invoke-WebRequest -Uri https://wsldownload.azureedge.net/Ubuntu_2004.2020.424.0_x64.appx -OutFile Ubuntu20.04.appx -UseBasicParsing
在powershell中等待下载
等待下载完后,输入下面四条命令
Rename-Item .\Ubuntu20.04.appx Ubuntu.zip
Expand-Archive .\Ubuntu.zip -Verbose
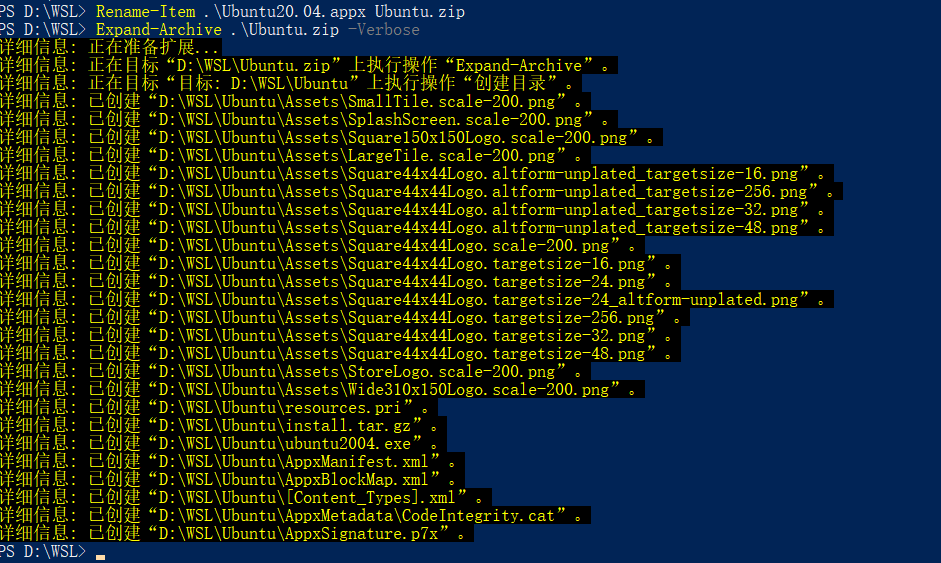
cd .\Ubuntu\

.\ubuntu2004.exe

然后输入你的用户名跟密码

然后就可以使用wsl2了,这里就直接进入wsl2了
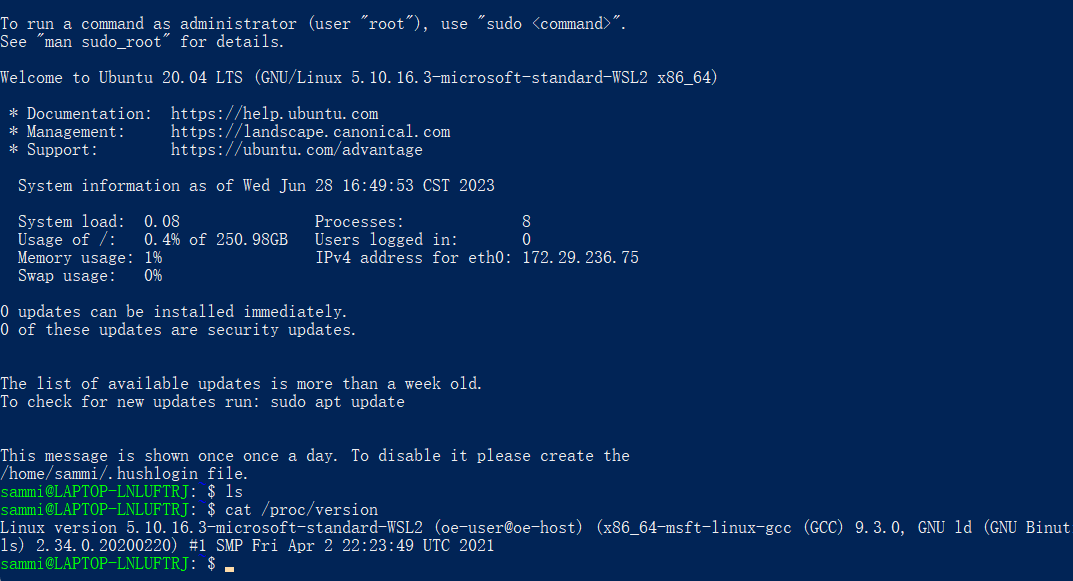
这个时候在powershell中输入wsl -l -v查看

内存控制
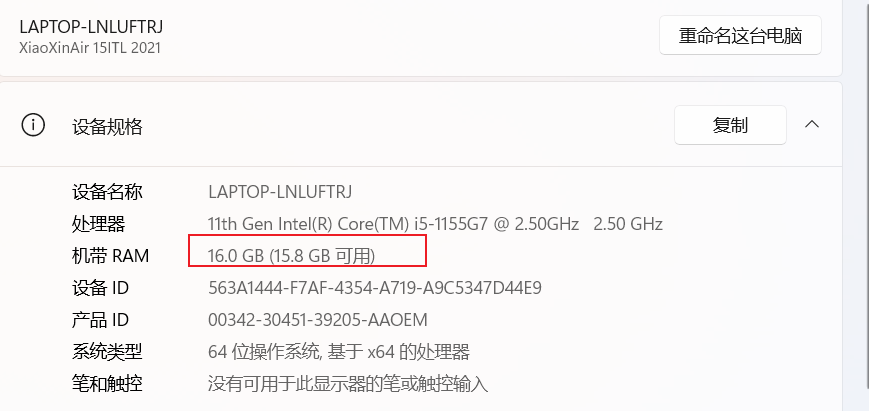
我的电脑运行内存16GB,我想给wsl 2GB的内存
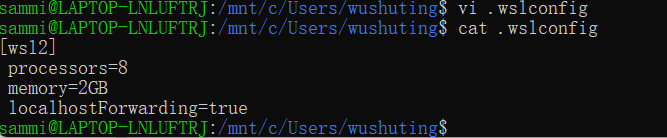
在wsl中到c盘你的用户名目录下,添加文件.wslconfig
[wsl2]
 processors=8
 memory=2GB
 localhostForwarding=true
设置c盘 d盘自动挂载到wsl中的/c /d目录下
修改配置文件 /etc/wsl.conf
[automount]
root = /
options = "metadata,umask=22,fmask=11"
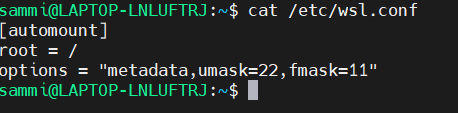
修改后重启

重新打开,修改成功

参考链接
FEATURED TAGS
Ubuntu
markdown
stm32
OSDK
飞控
串口
Jscope
C
C++
bin
J-Flash
字符串
指针数组
malloc
vscode
svg
png
github
python
CMake
CMakeLists
Linux
拷贝构造函数
GIF
录屏
docker
操作系统
make
Makefile
文件操作
DSP
CCS
SQL
MySQL
shell
bochs
计算机网络
win10
SMTP
Socket
iOS
uxplay
投屏
证书错误
apt
nodesource
ELF
Typora
图床
fossil
sql
git
SecureCRT
windows
cygwin
blog
alsa
alsa-utils
alsa-lib
音频
USB
链接文件
内存
mmap
tcpdump
交叉编译
网络
防火墙
crontab
bond
Linux性能
udev
linux
pcie
wsl2
MMIO
wsl
qemu
raspi4
gdb
ssh
tun
tap
ifconfig
打印
gmac
phy
vim
组播
rock3a
win11
usb
sd
ubuntu
iptables
netfilter
wifi
veth
ipv6
wireshark
radvd
dhcpv6
dhcpv4
网络命名空间
br虚拟网卡
NDP
emmc
存储
raspi4b
baremental
jtag
buildroot
rootfs
ext4
调试
uboot
dropbear
raspi
ebpf
uart
baremetal
kernel
bringup
libbpf
arm64
fit
gzip
压缩