前言
这篇文章主要是记录一下自己在应用层使用alsa-lib跟alsa-util,主要是amixer跟mplayer的使用,所以是在音频驱动跟LCD驱动已经加载好的情况下去做这件事情的。
内核起来后,可以看到已经有alsa device

对于声卡设备,在/dev/snd下也有相关的节点
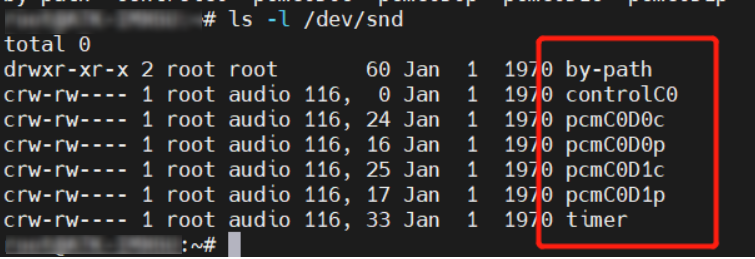
这里简单的说下每个节点的作用
-
controlC0:用于声卡控制,C0表示Card 0,也就是声卡0 -
pcmC0D0c和pcmC0D1c:用于录音的pcm设备,最后的字母c代表capture,表示录音,C0D0和C0D1分表表示声卡0中的设备0和设备1 -
pcmC0D0p和pcmC0D1p:用于录音的pcm设备,最后的字母p代表playback,表示放音,C0D0和C0D1分表表示声卡0中的设备0和设备1 -
timer:定时器
alsa-lib与alsa-utils交叉编译及安装
alsa-lib是一个工具库,alsa-utils是一系列依赖alsa-lib的工具
准备工作
因为alsa-lib 编译过程中会生成一些配置文件,而这些配置信息的路径都是绝对路径,为了保持路径一致,在板子跟自己的ubuntu系统中都创建一个/usr/share/arm-alsa 目录
下载源码
来到这个网站,点击Download

点击红框
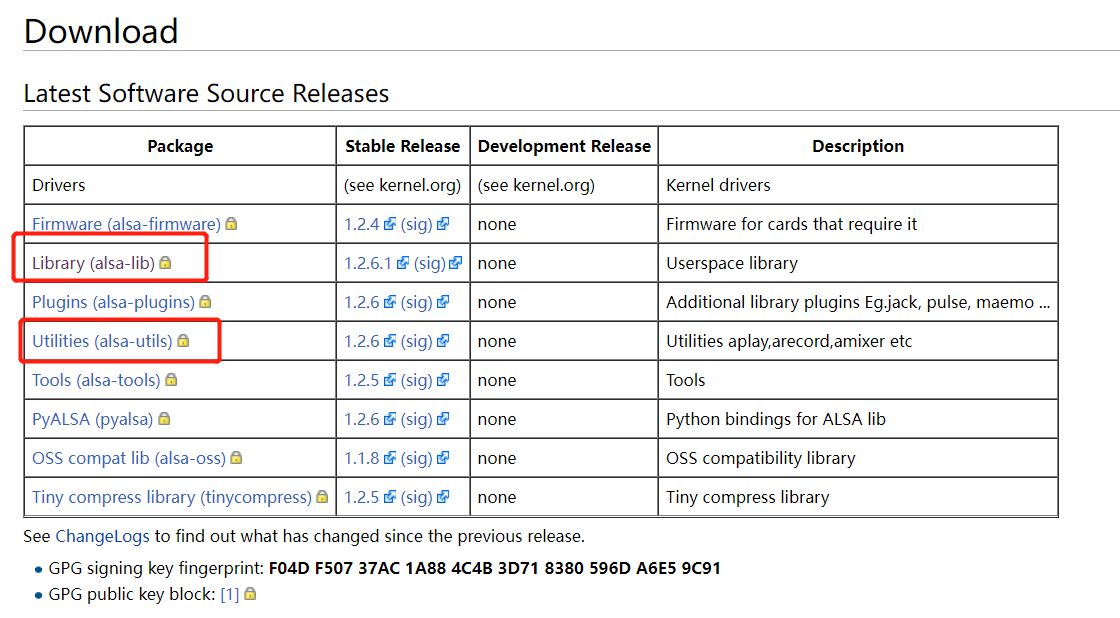
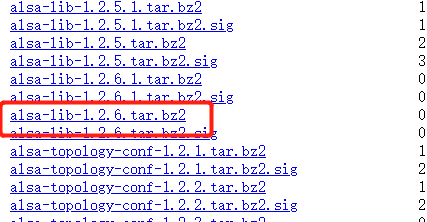
alsa-lib选择的是1.2.6
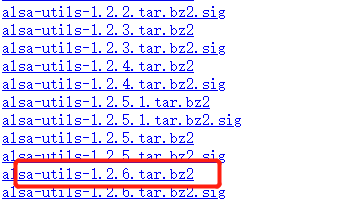
alsa-utils选择的是1.2.6
编译alsa-lib
先解压tar -vxjf alsa-lib-1.2.2.tar.bz2

解压后进入源码文件夹,在文件夹下先创建tools文件夹,放置成果物,然后configure配置,生成Makefile
./configure --host=arm-linux-gnueabihf --prefix=/home/copyright/alsa-lib/alsa-lib-1.2.6/tools --with-configdir=/usr/share/arm-alsa

接下来
make
sudo make install
可以看到tools文件夹下跟/usr/share/arm-alsa下的成果物


放置成果物到板子中
-
将
tools/lib下的东西全部复制到板子上的/usr/lib下 -
/usr/share/arm-alsa的内容放到板子的/usr/share/arm-alsa


再上述编译的过程中,碰到了编译的错误,大意就是无法找到交叉编译工具链arm-linux-gnueabihf-gcc,解决方法是
- 先切换到
root - 重新执行
/etc/profile - 最后
makemake install - 切换回普通用户
sudo -s
source /etc/profile
make
make install
su copyright
当时解决这个问题耽误了很久,也没截图下来,比较可惜
编译alsa-utils
下载源码后解压
tar -vxjf alsa-utils-1.2.6.tar.bz2

解压后进入源码文件夹,在文件夹下先创建tools文件夹,放置成果物,然后configure配置,生成Makefile
./configure --host=arm-linux-gnueabihf --prefix=/home/copyright/alsa-utils/alsa-utils-1.2.6/tools --with-alsa-inc-prefix=/home/copyright/alsa-lib/alsa-lib-1.2.6/tools/include/ --with-alsa-prefix=/home/copyright/alsa-lib/alsa-lib-1.2.6/tools/lib/ --disable-alsamixer --disable-xmlto
将tools文件夹 下的bin,sbin 和 share 这三个目录中的所有文件分别拷贝到开发板根目录下的 /bin,/sbin 和/usr/share/alsa 目录下


打开板子根文件系统中的/etc/profile 文件,在里面加入如下所示内容:
export ALSA_CONFIG_PATH=/usr/share/arm-alsa/alsa.conf
ALSA_CONFIG_PATH 用于指定 alsa 的配置文件,这个配置文件是 alsa-lib 编译出来的。

amixer使用
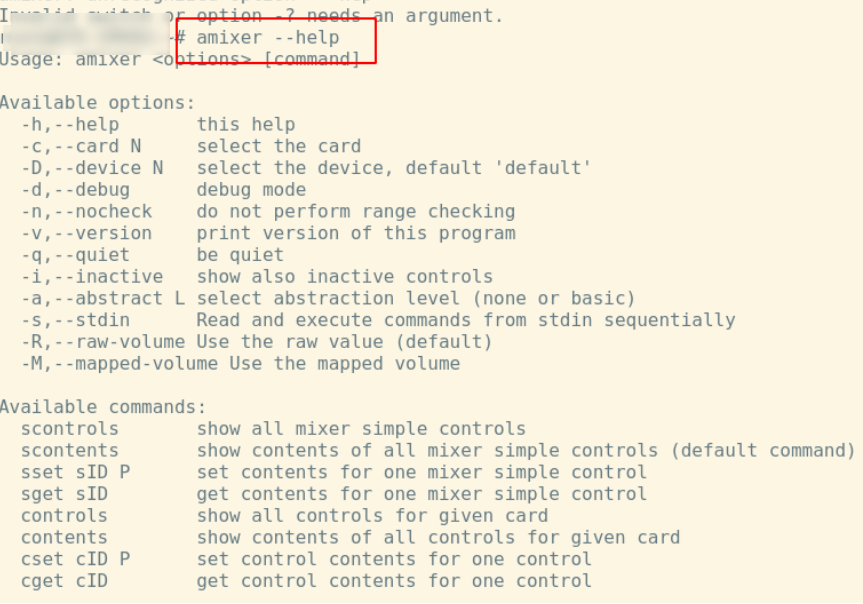
可以看出,amixer 软件命令分为两组,scontrols、scontents、sset 和 sget 为一组,controls、contents、cset 和 cget 为另一组。这两组的基本功能都是一样的,只不过s开头的是simple(简单)组,这一组命令是简化版。
-
amixer controls:查看所有设置项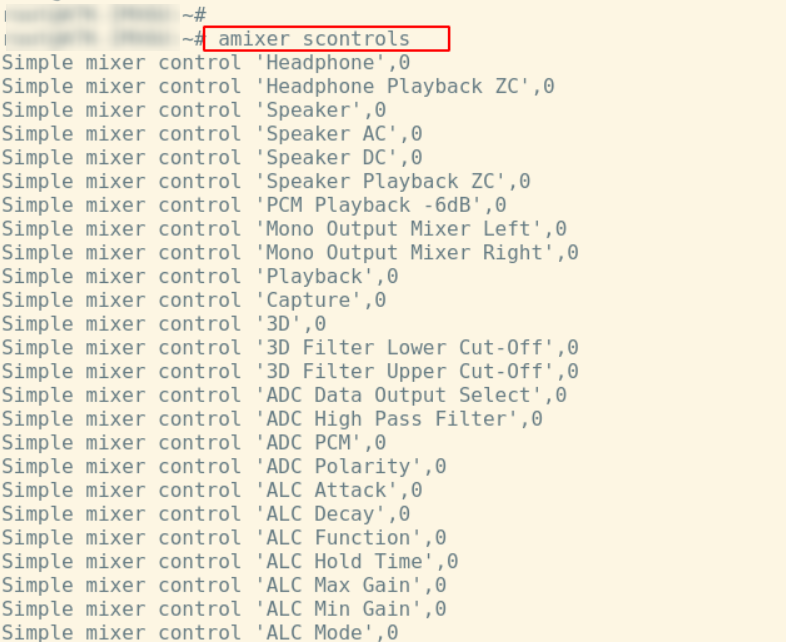
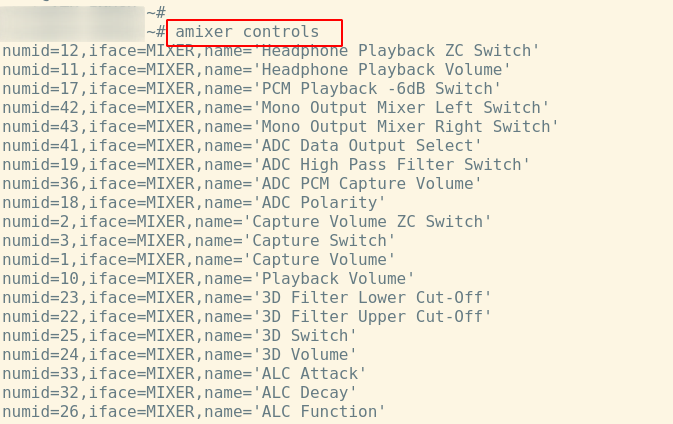
-
amixer scontents:查看设置值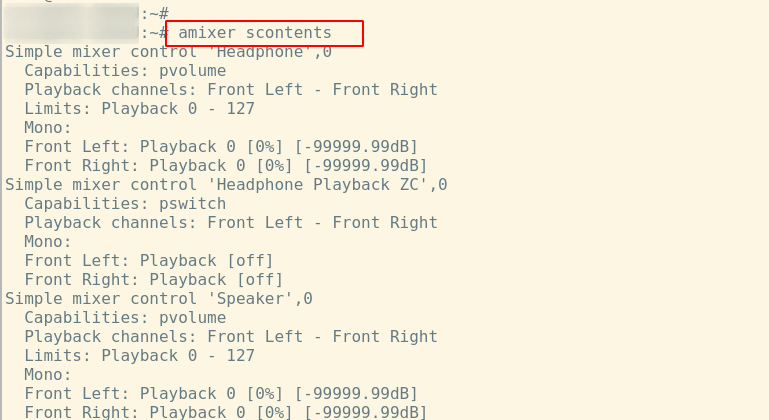
知道有哪些设置项跟设置值,就可以用下面的命令
amixer sset设置项目 设置值amixer cset设置项目 设置值amixer sget设置项目amixer cget设置项目
音乐播放测试
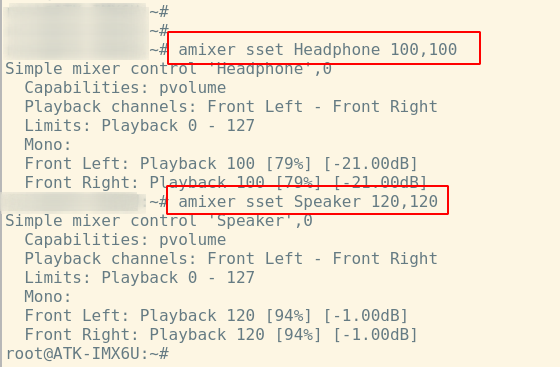
amixer sset Headphone 100,100 #设置耳机音量
amixer sset Speaker 120,120  #设置喇叭音量
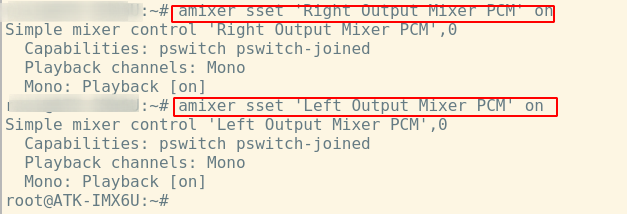
amixer sset 'Right Output Mixer PCM' on #左声道开启
amixer sset 'Left Output Mixer PCM' on #右声道开启
使用aplay播放wav文件

这时候如果插入耳机,声音就会传入耳机里面
不过在播放mp3的时候,aplay无法解析,都是噪声,不过下面即将介绍的mplayer可以播放mp3

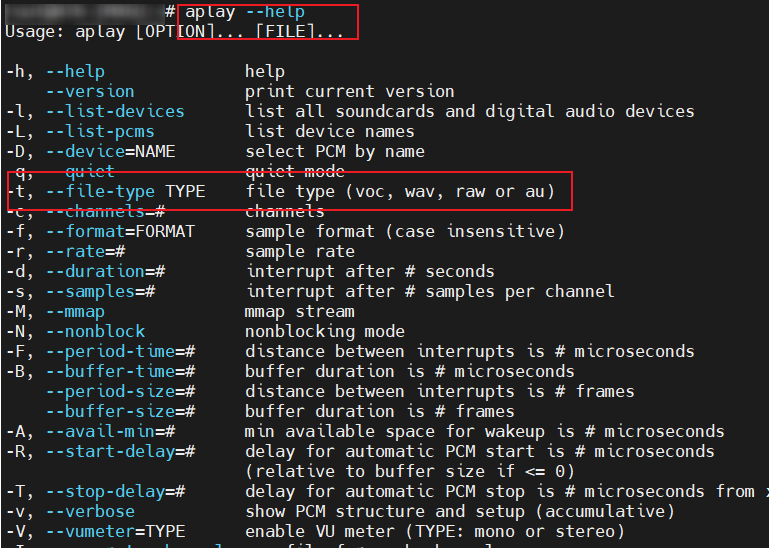
aplay支持的类型可以通过aplay --help查看
mic录音测试
使用 amixer 设置声卡
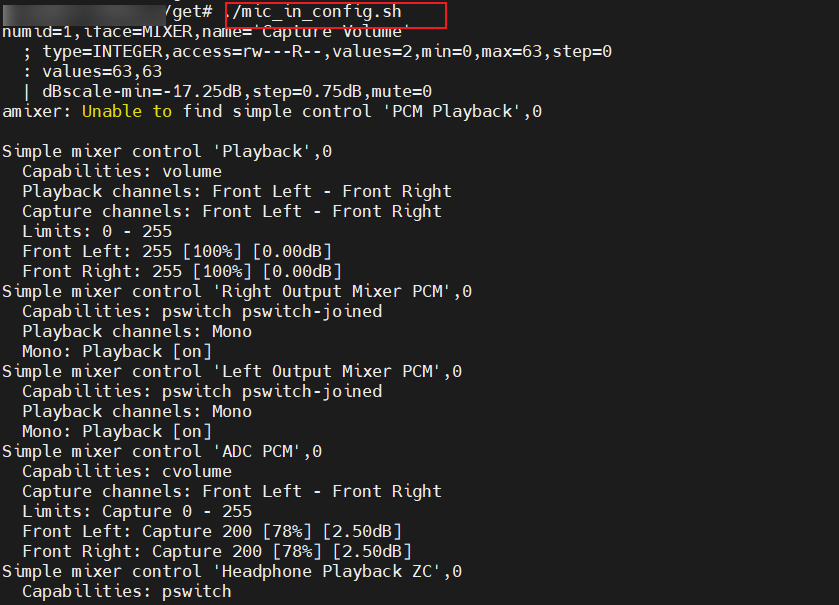
准备mic_in_config.sh脚本
#!/bin/sh
#设置捕获的音量
amixer cset name='Capture Volume' 90,90
#PCM
amixer sset 'PCM Playback' on
amixer sset 'Playback' 256
amixer sset 'Right Output Mixer PCM' on
amixer sset 'Left Output Mixer PCM' on

#ADC PCM
amixer sset 'ADC PCM' 200

#耳机/喇叭(扬声器)设置播放音量,直流/交流
#Turn on Headphone
amixer sset 'Headphone Playback ZC' on
#Set the volume of your headphones(98% volume,127 is the MaxVolume)
amixer sset Headphone 125,125
#Turn on the speaker
amixer sset 'Speaker Playback ZC' on
#Set the volume of your Speaker(98% volume,127 is the MaxVolume)
amixer sset Speaker 125,125
#Set the volume of your Speaker AC(80% volume,100 is the MaxVolume)
amixer sset 'Speaker AC' 4
#Set the volume of your Speaker AC(80% volume,5 is the MaxVolume)
amixer sset 'Speaker DC' 4

#音频输入,左声道管理
#Turn on Left Input Mixer Boost
amixer sset 'Left Input Mixer Boost' off
amixer sset 'Left Boost Mixer LINPUT1' off
amixer sset 'Left Input Boost Mixer LINPUT1' 0
amixer sset 'Left Boost Mixer LINPUT2' off
amixer sset 'Left Input Boost Mixer LINPUT2' 0
#Turn off Left Boost Mixer LINPUT3
amixer sset 'Left Boost Mixer LINPUT3' off
amixer sset 'Left Input Boost Mixer LINPUT3' 0

#音频输入,右声道管理,全部关闭
#Turn on Right Input Mixer Boost
amixer sset 'Right Input Mixer Boost' on
amixer sset 'Right Boost Mixer RINPUT1' off
amixer sset 'Right Input Boost Mixer RINPUT2' 0
amixer sset 'Right Boost Mixer RINPUT2' on
amixer sset 'Right Input Boost Mixer RINPUT2' 127
amixer sset 'Right Boost Mixer RINPUT3' off
amixer sset 'Right Input Boost Mixer RINPUT3' 0
执行脚本
使用 arecord 录制音频
使用arecord来录制一段10秒音频,arecord 也是 alsa-utils 编译出来的工具,输入如下命令:
arecord -f cd -d 10 record.wav
-f是设置录音质量,-f cd表示录音质量为cd级别-d是指定录音时间,单位是s

录制完成以后使用 aplay 播放刚刚录制的音频
单声道 MIC 录制立体声音频
LINE IN 录音测试
使用 amixer 设置声卡
准备line_in_config脚本
#!/bin/sh

#设置捕获的音量
amixer cset name='Capture Volume' 100,100

#PCM
amixer sset 'PCM Playback' on
amixer sset 'Playback' 256
amixer sset 'Right Output Mixer PCM' on
amixer sset 'Left Output Mixer PCM' on

#ADC PCM
amixer sset 'ADC PCM' 200

#录音前应该设置耳机或者扬声器的音量为 0(下面并没有设置)防止干扰
#耳机/喇叭(扬声器)设置播放音量,直流/交流
#Turn on Headphone
amixer sset 'Headphone Playback ZC' on
#Set the volume of your headphones(98% volume,127 is the MaxVolume)
amixer sset Headphone 125,125
#Turn on the speaker
amixer sset 'Speaker Playback ZC' on
#Set the volume of your Speaker(98% volume,127 is the MaxVolume)
amixer sset Speaker 125,125
#Set the volume of your Speaker AC(80% volume,100 is the MaxVolume)
amixer sset 'Speaker AC' 4
#Set the volume of your Speaker AC(80% volume,5 is the MaxVolume)
amixer sset 'Speaker DC' 4

#音频输入,左声道管理
#Turn off Left Input Mixer Boost
amixer sset 'Left Input Mixer Boost' on
#关闭其他通道输入
amixer sset 'Left Boost Mixer LINPUT1' off
amixer sset 'Left Input Boost Mixer LINPUT1' 0
#关闭麦克风左声道输入
amixer sset 'Left Boost Mixer LINPUT2' on
amixer sset 'Left Input Boost Mixer LINPUT2' 127
#Line_in 右声道输入关闭
amixer sset 'Left Boost Mixer LINPUT3' off
amixer sset 'Left Input Boost Mixer LINPUT3' 0


#音频输入,右声道管理
#Turn on Right Input Mixer Boost
amixer sset 'Right Input Mixer Boost' on
amixer sset 'Right Boost Mixer RINPUT1' off
amixer sset 'Right Input Boost Mixer RINPUT1' 0
amixer sset 'Right Boost Mixer RINPUT2' off
amixer sset 'Right Input Boost Mixer RINPUT2' 0

#要想设置成音频输入,请打开 RINPUT3,看原理图可知
#其他的声道通过上面的配置可关闭,这样是为了避免干扰,需要的时候就打开

#RINPUT3 打开(关键点)
amixer sset 'Right Boost Mixer RINPUT3' on
amixer sset 'Right Input Boost Mixer RINPUT3' 127
执行脚本
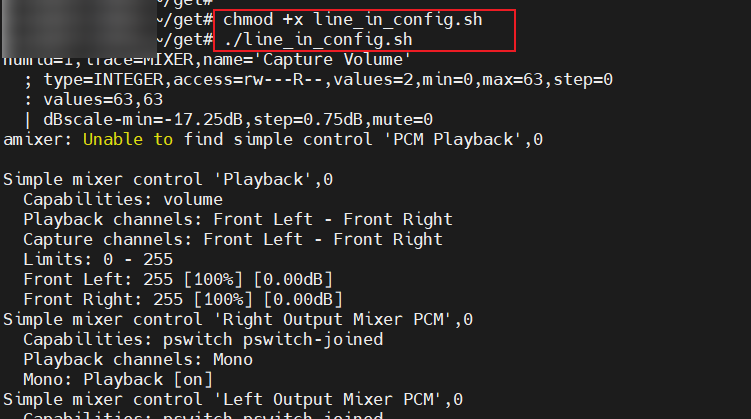
使用 arecord 录制音频
用一条公对公的3.5mm音频线,将电脑跟板子上的接口连接起来,执行下面的录音命令
arecord -f cd -d 10 record.wav
录制完成以后使用 aplay 播放刚刚录制的音频

mplayer编译
zlib交叉编译
如果想用mplayer工具,需要alsa-lib 和 zlib这两个库,alsa-lib库前面已经编译过以及安装过了,这次来交叉编译zlib
先来到官网,下载源码,如红框所示

解压
tar -vxzf zlib-1.2.11.tar.gz
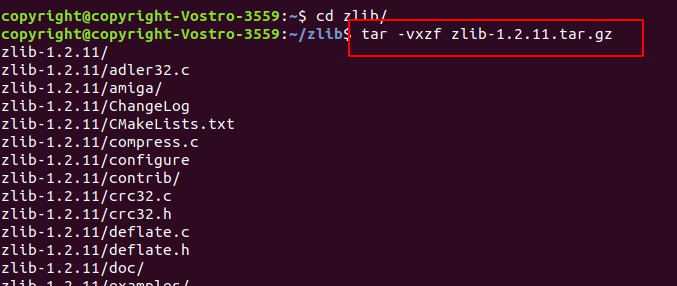
同之前一样我们在解压后的源码文件夹下创建tools文件夹

输入如下命令进行工具链的配置
CC=arm-linux-gnueabihf-gcc LD=arm-linux-gnueabihf-ld AD=arm-linux-gnueabihf-as ./configure --prefix=/home/copyright/zlib/zlib-1.2.11/tools
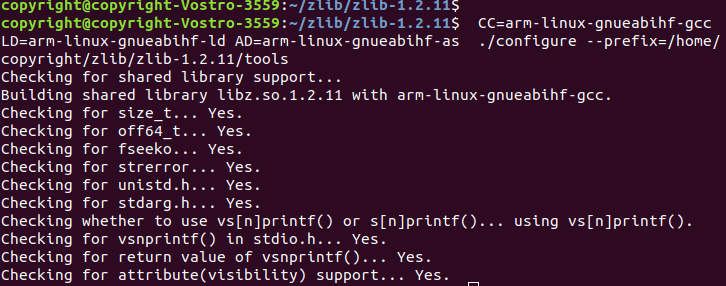
配置后会生成Makefile,然后执行make跟make install
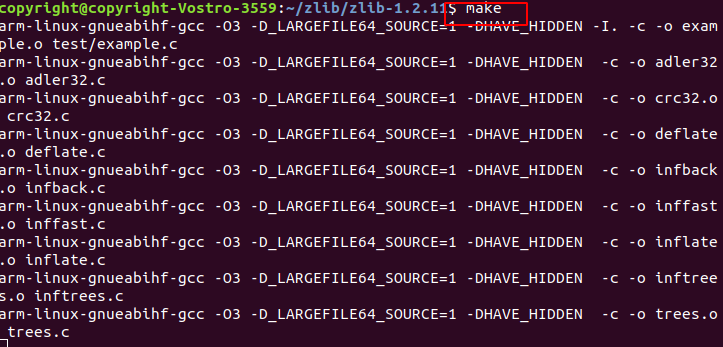

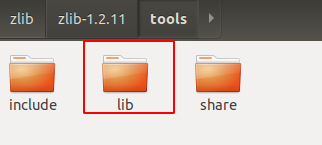
将tools下的lib文件夹内的所有内容拷贝到板子的/lib 目录下
mplayer编译
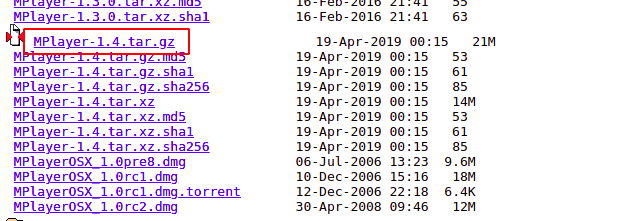
先来到官网,下载源码,如红框所示
解压命令
tar -vxzf MPlayer-1.4.tar.gz
同之前一样我们在解压后的源码文件夹下创建tools文件夹

输入下面命令进行配置
copyright@copyright-Vostro-3559:~/mplayer/MPlayer-1.4$ ./configure --cc=arm-linux-gnueabihf-gcc --host-cc=gcc --target=arm-linux-gnueabihf --disable-ossaudio --enable-alsa --prefix=/home/copyright/mplayer/MPlayer-1.4/tools --extra-cflags="-I/home/copyright/zlib/zlib-1.2.11/tools/include -I/home/copyright/alsa-lib/alsa-lib-1.2.6/tools/include" --extra-ldflags="-L/home/copyright/zlib/zlib-1.2.11/tools/lib -Iz -L/home/copyright/alsa-lib/alsa-lib-1.2.6/tools/lib -lasound" --enable-fbdev --disable-mencoder
--extra-cflags指定zlib和alsa-lib的头文件路径--extra-ldflags指定zlib和alsa-lib的库文件路径
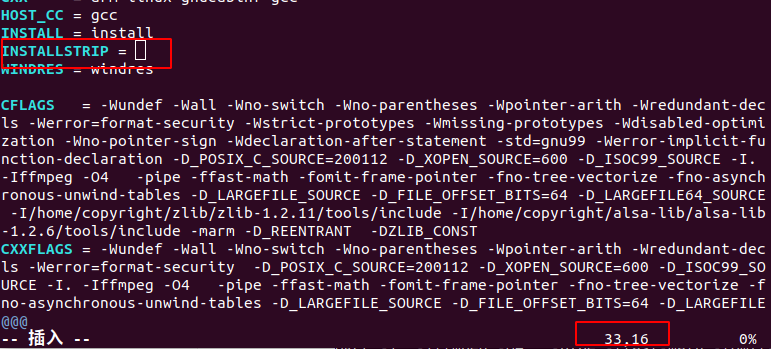
配置完成后,找到生成的config.mak 文件,找到INSTALLSTRIP = -s这一行,取消掉后面 的-s,否则make install命令会失败
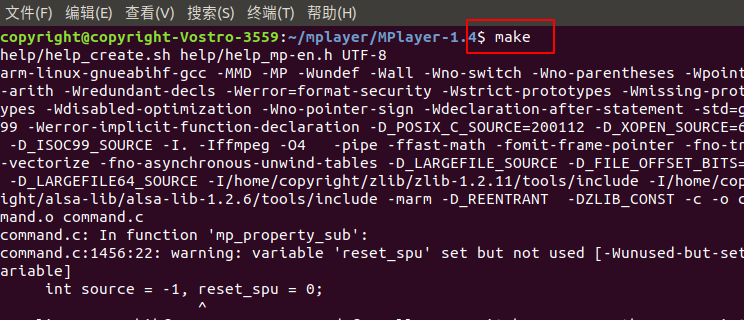
配置后会生成Makefile,然后执行make跟make install

最后将tools下的bin文件夹内的mplayer拷贝到板子的/bin 目录下
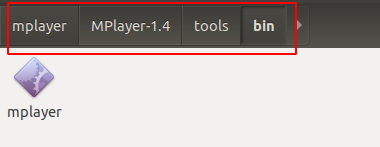
mplayer工具使用
前提是音频驱动跟屏幕驱动已经加载了
mplayer播放音频
前面提到aplay无法播放mp3,这个遗憾就由mplayer来解决
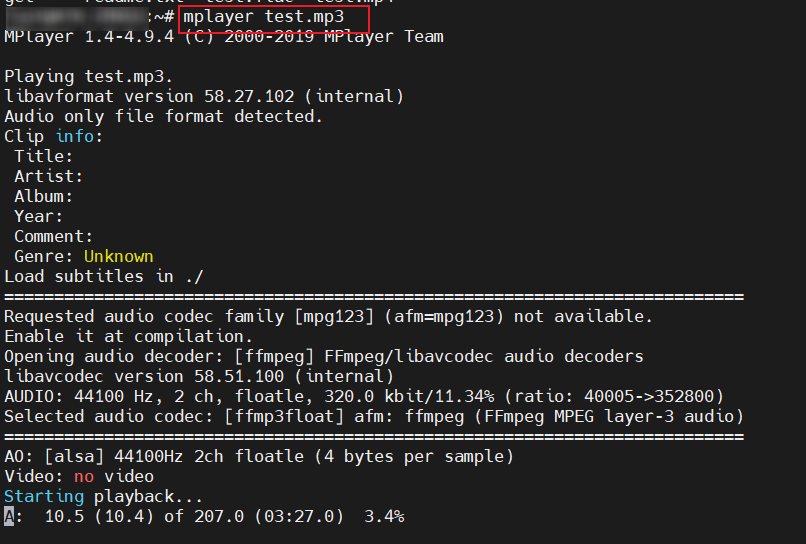
mplayer播放视频
同样的命令mplayer test.mp4,可以看到屏幕上播放着视频,但是主要视频的分辨率要适配你的屏幕。